
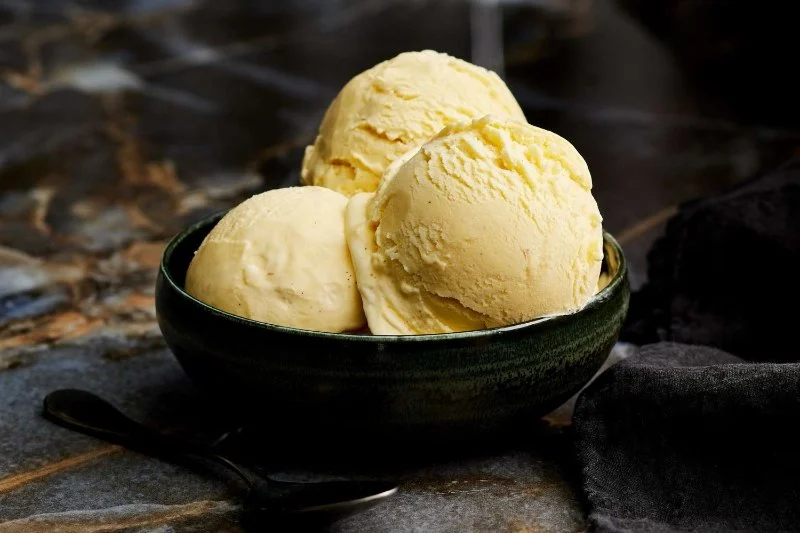
Ice Cream Making 101: Everything You Need to Know to Get Started
There’s something incredibly satisfying about making your own ice cream. Whether it’s for a special occasion or just a treat for the family, homemade ice cream offers a level of customization and freshness that store-bought options can’t match. In this guide, we’ll cover everything you need to know to get started with ice cream making at home—from the basics of ingredients to tips for achieving the perfect texture. By the end, you’ll be ready to create your own creamy, dreamy ice cream right in your kitchen!

Sweet Temptations / temptations grand haven
Grand HavenOttawa CountyMichigan
621 Miller Dr, Grand Haven, MI 49417, USA
1. Understanding the Basics of Ice Cream Making
Before diving into recipes and techniques, it’s important to understand what goes into making ice cream. The basic ingredients are fairly simple: cream, milk, sugar, and flavorings. However, achieving that smooth, creamy texture requires more than just mixing these ingredients together. The secret lies in the process of churning and freezing, which prevents ice crystals from forming and gives the ice cream its velvety texture.
The primary ingredients in ice cream are:
- Cream and Milk: These provide the rich base and creamy texture that defines ice cream. The higher the fat content, the creamier the result.
- Sugar: Sugar not only sweetens the ice cream but also helps control the freezing point, keeping it smooth and scoopable.
- Egg Yolks: In custard-style ice cream, egg yolks act as an emulsifier, helping to combine the fat and liquid and giving the ice cream a rich, smooth texture.
- Flavorings: Vanilla, chocolate, fruits, nuts, and spices can be added to create unique and delicious flavors.
2. Essential Tools for Making Homemade Ice Cream
While it’s possible to make ice cream without any special equipment, a few tools can make the process easier and more efficient. Here’s a look at the essentials:
- Ice Cream Maker: While you can make ice cream by hand, an ice cream maker helps churn the mixture while it freezes, ensuring a smooth and creamy texture. There are various models available, from countertop electric machines to hand-cranked versions.
- Mixing Bowls: You’ll need large bowls for combining ingredients and chilling the ice cream mixture.
- Measuring Cups and Spoons: Accurate measurements are crucial for achieving the perfect balance of ingredients.
- Spatula: A good spatula will help you scrape every last bit of your ice cream mixture into the ice cream maker or container.
If you don’t yet have an ice cream maker, consider looking into various models. Some have built-in compressors, while others require pre-freezing the bowl. You can find models suited for different needs and budgets at stores like Ice Cream Shop, which offer the best options for ice cream enthusiasts.

Carvel / carvel west caldwell
West CaldwellEssex CountyNew Jersey
887 Bloomfield Ave, West Caldwell, NJ 07006, USA
3. The Steps to Making Homemade Ice Cream
Once you have your ingredients and equipment, it’s time to make the magic happen. Here’s a step-by-step guide:
1. Make the Base
The first step in ice cream making is preparing the base. If you’re making custard-style ice cream, you’ll need to cook the cream, milk, sugar, and egg yolks together until they form a smooth custard. If you’re making a simple, no-cook ice cream, you can skip the cooking step and just mix the ingredients.
2. Chill the Mixture
Once your base is prepared, it’s crucial to chill it before churning. This helps the ice cream freeze more evenly and reduces the formation of ice crystals. You can chill the mixture in the fridge for 1-2 hours, or overnight for the best results.
3. Churn the Mixture
Once chilled, pour your mixture into the ice cream maker and follow the manufacturer’s instructions for churning. Most machines take 20-30 minutes to churn the ice cream to the desired consistency. You’ll notice the ice cream thickening as air is incorporated, making it light and creamy.
4. Freeze the Ice Cream
After churning, the ice cream will still be a bit soft, so it’s time to transfer it to a freezer-safe container and let it firm up in the freezer for several hours, or until it reaches your desired consistency. If you’re feeling adventurous, you can mix in chunks of chocolate, fruit, or candy during the last few minutes of churning to create your own signature flavor.
4. Tips for Perfect Ice Cream
To ensure your homemade ice cream turns out perfectly every time, here are a few expert tips:
- Use the freshest ingredients: The better the quality of your ingredients, the better the flavor of your ice cream. Fresh cream, real vanilla, and high-quality cocoa powder make a big difference.
- Don’t rush the freezing process: Allow your ice cream enough time to freeze properly. This will ensure the best texture and prevent it from becoming icy or hard.
- Adjust sweetness and flavor: Taste the mixture before freezing and adjust the sweetness or flavorings to your liking. Remember, the sweetness will be less pronounced once the ice cream is frozen.
5. Common Issues and How to Solve Them
Even experienced ice cream makers can run into a few issues. Here’s a quick guide to solving some of the most common problems:
- Ice Cream is Too Hard: If your ice cream is too hard after freezing, it may need to sit out for a few minutes to soften before scooping.
- Ice Crystals in Ice Cream: Ice crystals can form if the ice cream isn’t churned enough or if it hasn’t been chilled properly. Make sure to chill the mixture thoroughly before churning, and churn the ice cream for the full time recommended by the machine.
- Ice Cream is Too Soft: If your ice cream isn’t firming up in the freezer, it may need more time to freeze. Alternatively, it could be due to too much air being incorporated during churning. Try reducing the mixing time next time.
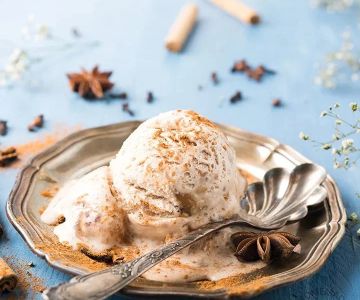
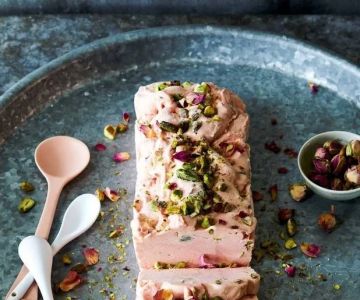
6. Creative Ice Cream Variations
Once you’ve mastered the basics, the sky’s the limit! Try adding mix-ins like crushed cookies, candy bars, fruit, or nuts. For adventurous flavors, you can experiment with herbs, spices, and even savory ingredients like olive oil or balsamic vinegar. Creating unique ice cream flavors is part of the fun!
Homemade ice cream is a rewarding experience that can be customized to your taste preferences. Whether you’re making classic vanilla, rich chocolate, or something entirely new, there’s nothing like enjoying a scoop of ice cream you made yourself. For more tips, recipes, and equipment recommendations, visit Ice Cream Shop to find everything you need to perfect your ice cream-making skills.


 Baskin-Robbins3.0 (30 reviews)
 North End Sweets and Treats4.0 (287 reviews)
 Dairy Queen (Treat)3.0 (124 reviews)
 Barkley's Derry King4.0 (450 reviews)
 Yates Ice Cream Shoppe4.0 (9 reviews)
 Ashby's Sterling Ice Cream5.0 (7 reviews)
 Best Ice Cream Shops in Des Moines: Where to Find Iowa Corn Sweetness
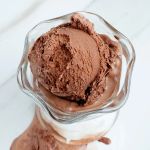 Ice Cream and Cryptography: Secret Recipes and How to Protect Them
 Exploring Ice Cream's Global Appeal: How Other Countries Enjoy Frozen Treats
 Why Ice Cream is the Perfect Dessert for Any Occasion
 Ice Cream and Pop Culture: References in Songs, TV, and Books
 Best Ice Cream Shops in Galveston for Seafood Themes | Must-Try Flavors