
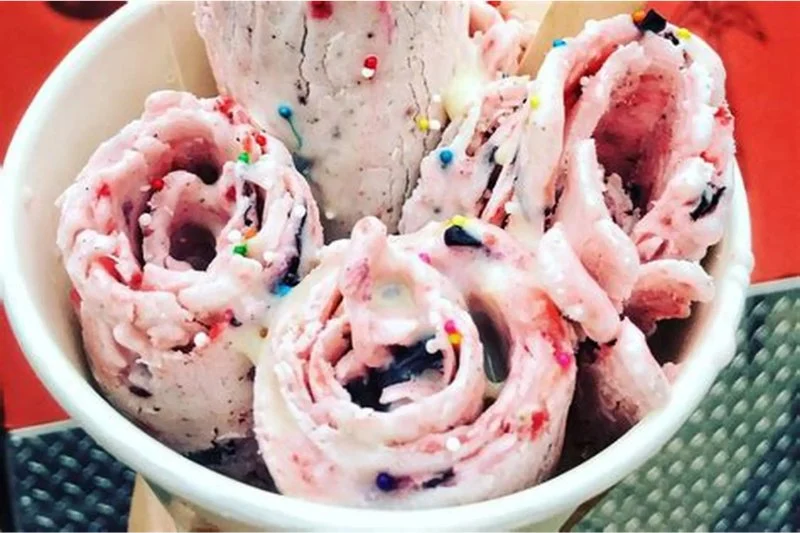
What Is Rolled Ice Cream?
Rolled ice cream, also known as "stir-fried ice cream," originated in Thailand and has become a popular treat in many parts of the world. The ice cream is made by pouring a liquid ice cream base onto a cold surface, then using a spatula to stir and spread it until it freezes into thin layers. These layers are then rolled up into beautiful spirals, ready to be served.
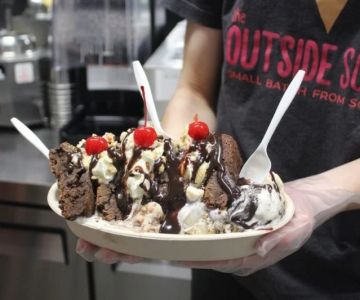
The Baked Bear / baked bear long branch
Long BranchMonmouth CountyNew Jersey
15 Morris Ave Unit 115, Long Branch, NJ 07740, USA
The Appeal of Rolled Ice Cream
The unique preparation method and visually stunning presentation make rolled ice cream a fun dessert to enjoy. It also offers endless possibilities for flavor combinations, toppings, and even mix-ins, making it a favorite among those who enjoy customizing their desserts. Plus, the process of watching your ice cream come to life right before your eyes adds an interactive and exciting element to the experience.
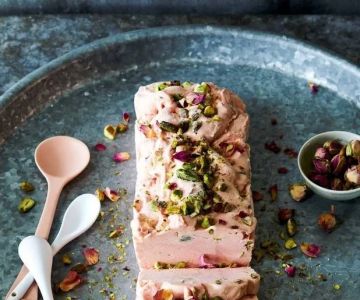
The Crazy Cow Creamery / the crazy cow creamery
WolcottNaugatuck Valley Planning RegionConnecticut
388 Wolcott Rd, Wolcott, CT 06716, USA
Why Use a Non-Stick Pan for Rolled Ice Cream?
If you're making rolled ice cream at home, using a non-stick pan is essential. A non-stick surface ensures that your ice cream will freeze evenly and that the delicate rolled layers won’t stick to the pan. This makes the rolling process smoother and prevents any frustration when trying to lift the ice cream from the surface.
Benefits of a Non-Stick Pan
- Easy to Clean: A non-stick surface reduces the likelihood of ice cream sticking, which makes cleanup much easier after you’re done.
- Even Freezing: Non-stick pans provide a consistent freezing surface, which helps the ice cream freeze faster and more evenly.
- Better Control: Non-stick pans allow you to have better control over the ice cream as you spread and roll it, giving you a more polished result.
Ingredients You’ll Need for Rolled Ice Cream
Making rolled ice cream at home is simple and requires just a few key ingredients. The beauty of homemade rolled ice cream is that you can customize the flavors to your liking. Here’s what you’ll need to get started:
Basic Ingredients for the Ice Cream Base
- 1 cup heavy cream
- 1/2 cup sweetened condensed milk
- 1/2 cup whole milk
- 1 tsp vanilla extract (optional)
These ingredients make a smooth and creamy ice cream base, which will freeze well and form perfect rolls when spread onto the cold surface of your non-stick pan. You can adjust the proportions if you want a firmer or creamier consistency.
Mix-Ins and Flavor Add-ins
In addition to the basic ingredients, you can include a variety of mix-ins or flavorings such as:
- Crushed cookies (Oreos, graham crackers)
- Chopped fruit (strawberries, bananas, blueberries)
- Chocolate chips or cocoa powder
- Caramel or fudge syrup
- Nuts or candy pieces
Step-by-Step Guide to Making Rolled Ice Cream at Home
Making rolled ice cream at home is a fun process that only takes a few minutes once you have everything prepared. Here’s a simple step-by-step guide to get you started:
Step 1: Prepare Your Ice Cream Base
In a large mixing bowl, combine the heavy cream, sweetened condensed milk, and whole milk. Stir them together until the mixture is smooth. If you want to add vanilla extract or other flavorings, do so at this stage.
Step 2: Pour the Base into a Non-Stick Pan
Pour the ice cream mixture into your cold non-stick pan, spreading it out evenly across the surface. Ensure the mixture is thin, around 1/4 inch thick, for best freezing results.
Step 3: Add Your Mix-Ins
Once the mixture is spread out, sprinkle your chosen mix-ins over the surface. You can mix them into the ice cream base or leave them on top for a more textured appearance.
Step 4: Let It Freeze
Allow the mixture to freeze for 3-5 minutes. The colder the pan, the quicker the ice cream will freeze. You’ll know it’s ready when the surface is firm and easy to scrape.
Step 5: Roll the Ice Cream
Using a spatula, carefully scrape along the frozen surface of the ice cream to form rolls. Once you’ve created rolls, gently lift them and place them in a bowl or cup.
Step 6: Add Toppings
Top your rolled ice cream with your favorite toppings, such as whipped cream, chocolate syrup, sprinkles, or fresh fruit. Enjoy!
Tips for Perfect Rolled Ice Cream Every Time
While making rolled ice cream is relatively simple, there are a few tips that can help you get the best results every time:
Use a Cold Surface
The colder your non-stick pan, the faster the ice cream will freeze. Consider placing the pan in the freezer for 15-20 minutes before you begin to ensure the surface is as cold as possible.
Thin Layers Are Key
For the best rolling experience, make sure to spread the ice cream base in a thin, even layer. Too thick of a layer will be hard to roll and might not freeze properly.
Work Quickly
Rolled ice cream requires speed. Once you pour the mixture onto the pan, move quickly to spread it and add any mix-ins before it starts to freeze.
Experiment with Flavors
Don’t be afraid to experiment with different flavor combinations! The beauty of rolled ice cream is in its versatility, so try adding unique ingredients to create your perfect dessert.
And remember, if you're ever in need of inspiration or the right supplies for your rolled ice cream creations, head to Ice Cream Shop for the best products and recommendations!


 Ice Cream Parlor4.0 (86 reviews)
 Rita's Italian Ice & Frozen Custard4.0 (147 reviews)
 Never Too Much Creamery4.0 (42 reviews)
 Ice Cream On 94.0 (874 reviews)
 Fenik's Frozen Custard4.0 (378 reviews)
 Carvel4.0 (208 reviews)
 Best Ice Cream Shops in Little Rock for Arkansas Berry Patches
 Best Ice Cream Shops in Coeur d’Alene for Idaho Huckleberry Heritage
 Best Ice Cream Shops in Monterey for California Cannery Row Themes
 Best Ice Cream Shops in Galveston for Seafood Themes | Must-Try Flavors
 How to Make Ice Cream with an Instant Pot in Less Than an Hour | Ice Cream Shop
 Best Ice Cream Shops in Denver for Rocky Mountain High Attitudes